


We have spent a couple of months exploring ancient Egypt and it is finally come to a close. It is amazing how much fun there was to have, and we didn’t even do it all. The reason Ancient Egypt has come to a close is more because the girls are done with it now. If the subject has hit its close, then it is time to move on to the next civilization because they will not continue to retain when they have stopped following along. The next time this topic comes up, they can continue to fill in the gaps.
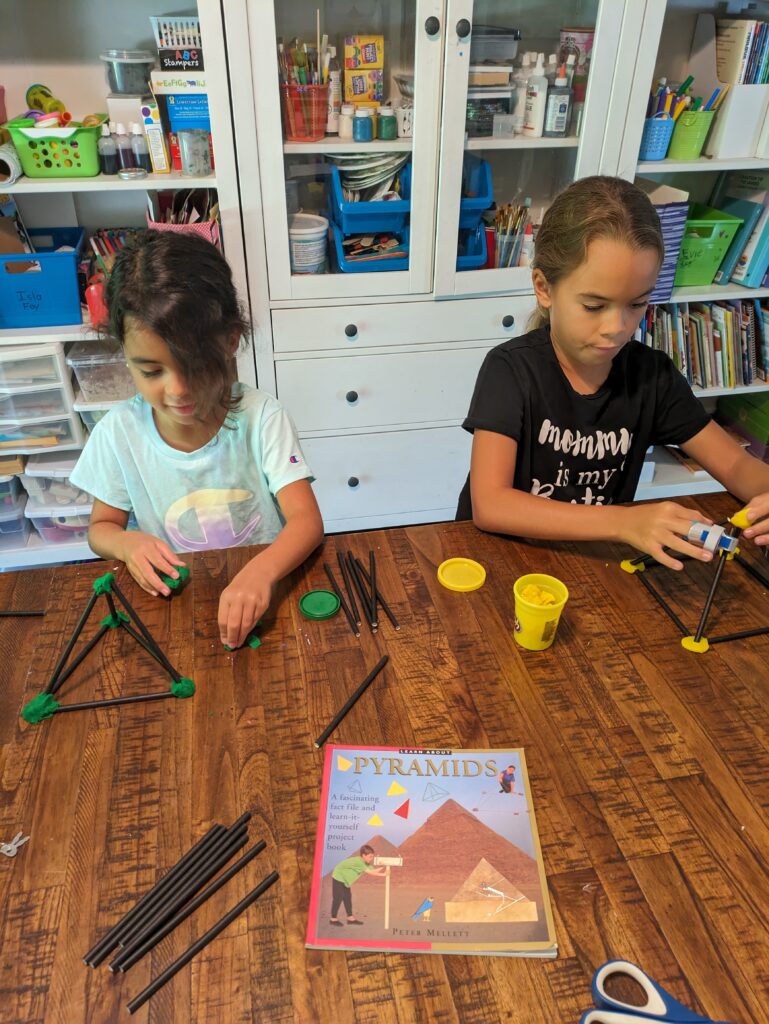
The first and most obvious ancient Egyptian topic and the best place to start is of course pyramids. A math lesson about the base shapes, the faces, and everything 3D shapes. Then the task is to build them! The first way we built was with paper straws and Play-Doh. They tried triangular and square bases.
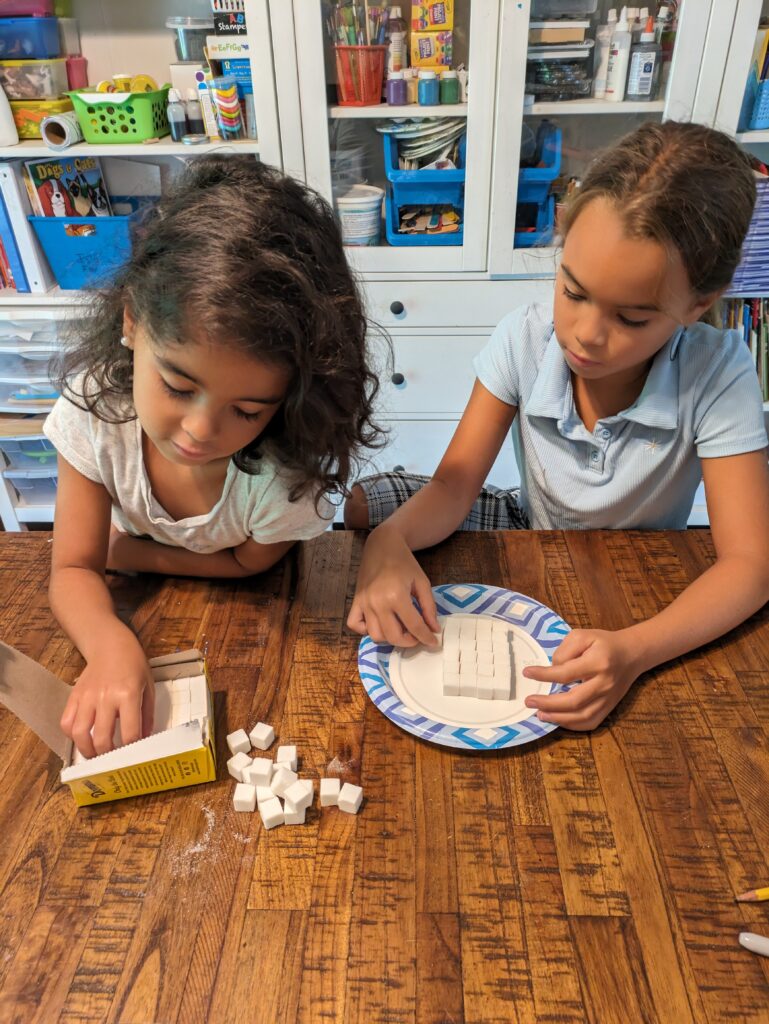
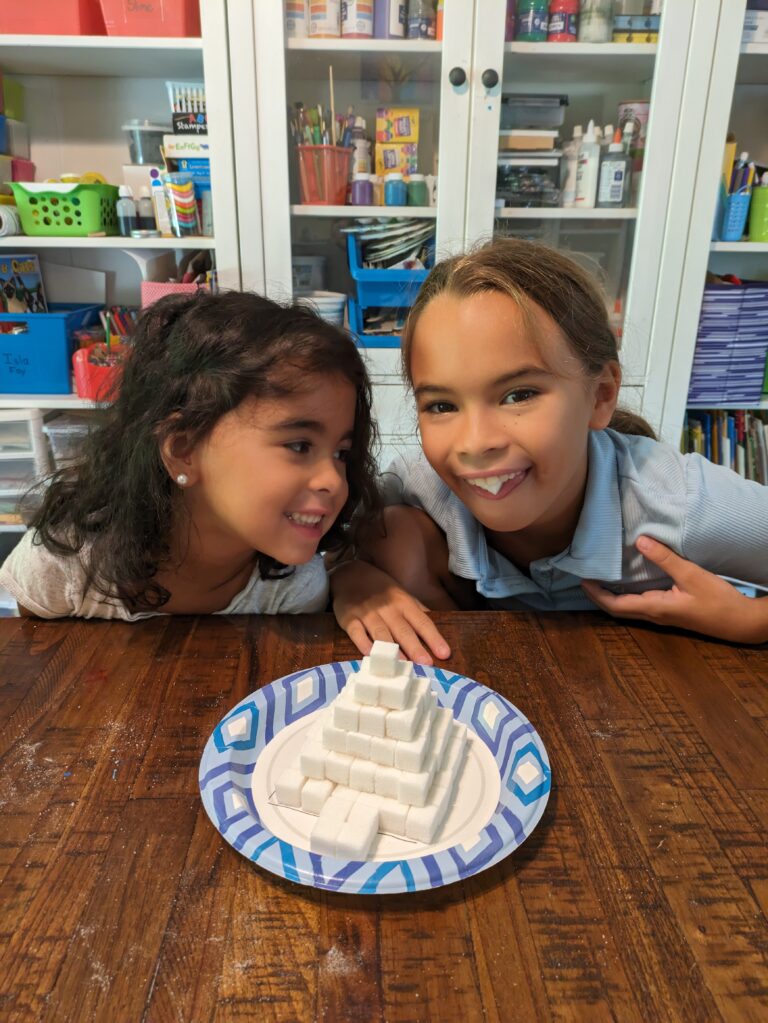
Later on, they built a pyramid with sugar cubes. We used this opportunity to learn square number multiplication as they built from the base up. The cubes also helped represent the original building materials. We started with a 6×6 base and painted some glue between each layer until we reached the one single top block. They also ate a few of the building blocks.
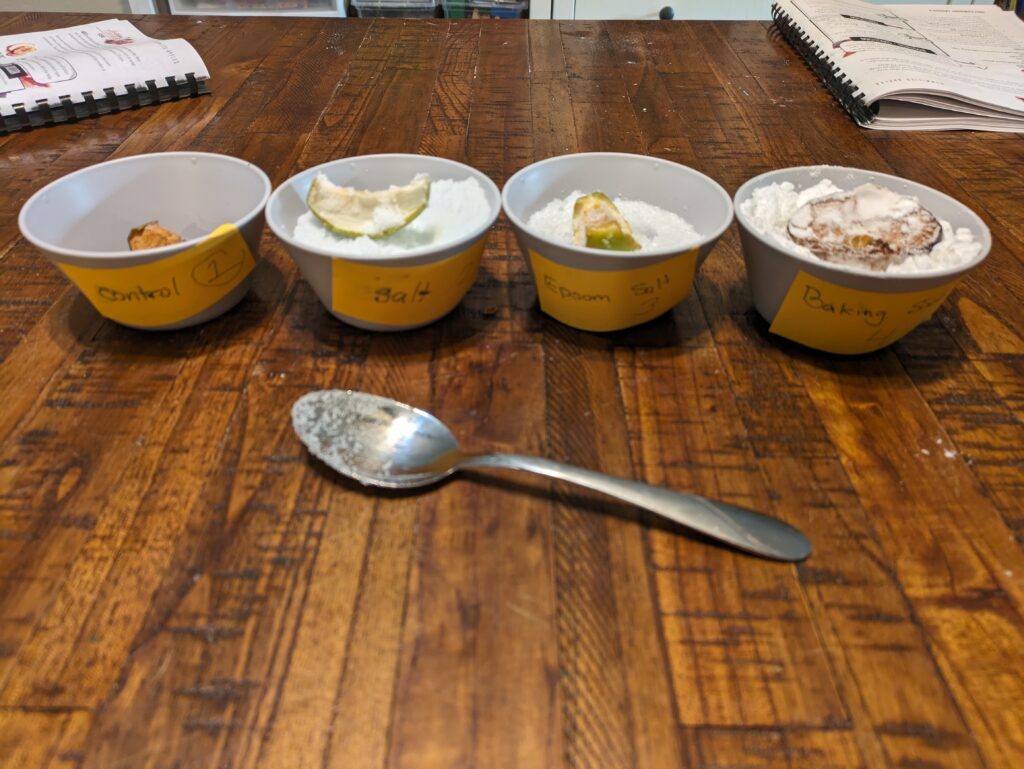
During our pyramid study, we also read all about the mummification process before they were buried in those pyramids. I wanted them to understand how they preserved the body with salt. We used an apple to represent the body.
The first was left alone in a bowl. The other 3 were in separate bowls and covered with equal amounts of salt, Epsom salts, and baking soda. At the end of the week, we dug up the apples and checked out how mummified our different apples were.
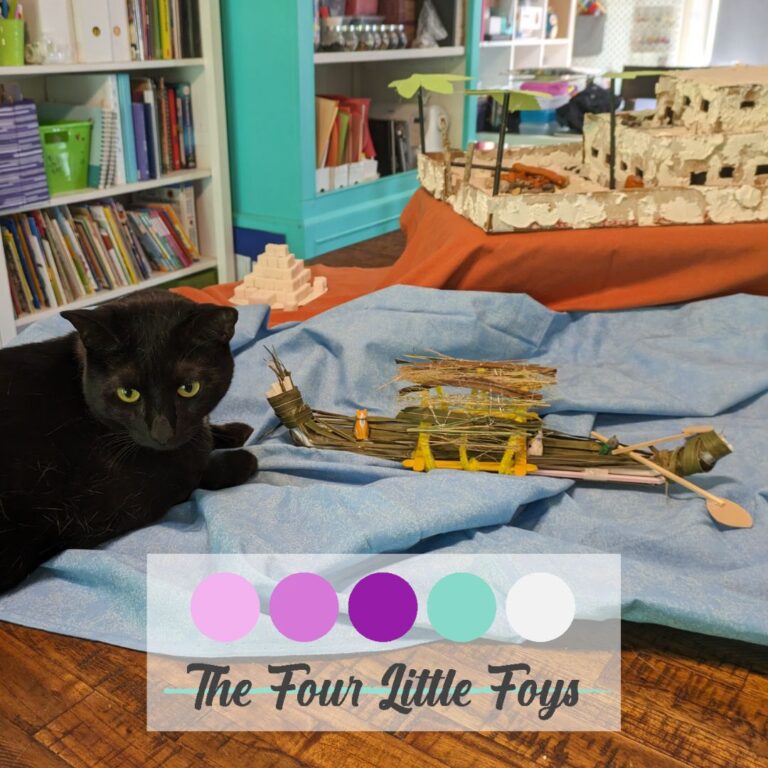
We also learned about their reed boats to travel the Nile. One morning Isla went on a backyard hunt to collect grass and palm fronds to cut and dry out. It kept her nice and busy. then the next day we built our boat. Bendy straws work really well to build the frame that can the little curled fronts and backs. Then they covered it with their grass and fronds and added a little canopy. We did not test if floating, but it’s cutest was definetly there.
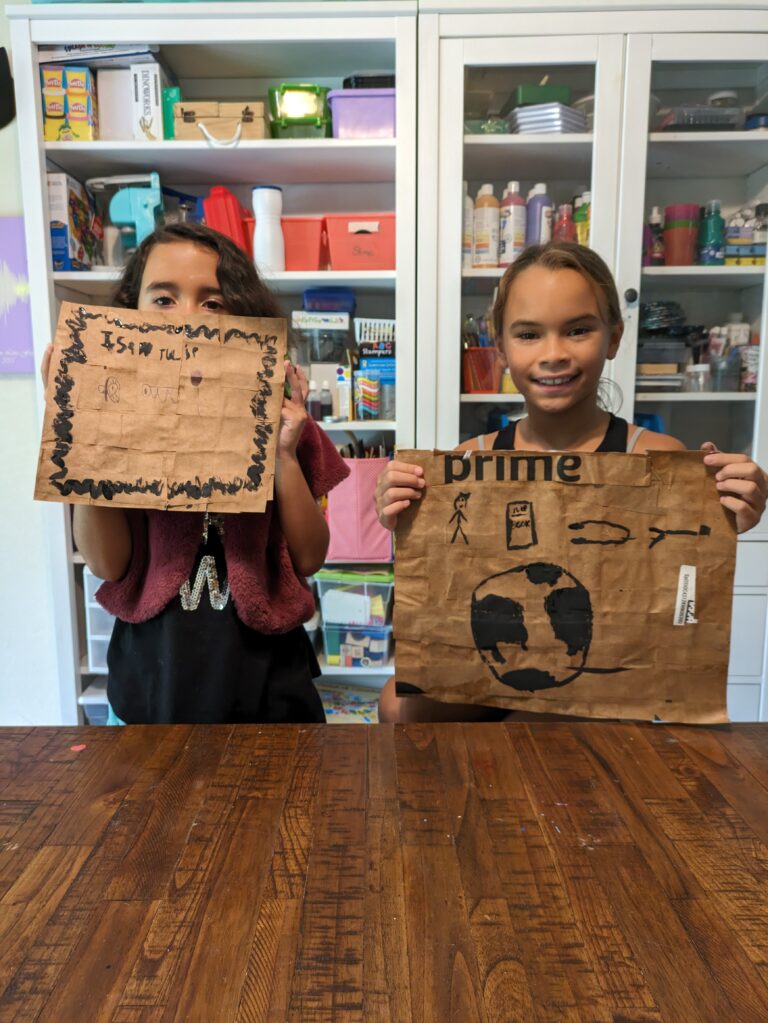
Another use for the reeds was papyrus paper! Obviously, we did not make it from reeds that we crushed and pulped into paper, but we made our own ideas.
It took some paper grocery bags that we cut into approximately 1in strips. I used a cookie sheet to mix equal amounts of Elmer’s glue and water. Freezer paper was laid down so the paper did not stick to anything. The girls dipped the paper strips into the watery glue and then alternately laid them down horizontally and then vertically. A basket weaving would have been stronger, but it was a little hard for Isla, Evie did it some. It works just fine without the weave, as long as no gaps are left in between.
After laying them all down, we laid some paper towels on top of foil and the girls rolled out all the extra water, with a rolling pin. Remove the foil and paper towels and let it dry overnight.
The next day, or maybe it was 3 or 4 when we got back to it, but we used the paper for further lessons. We learned about hieroglyphics and tried our hand at making some on our papyrus paper.
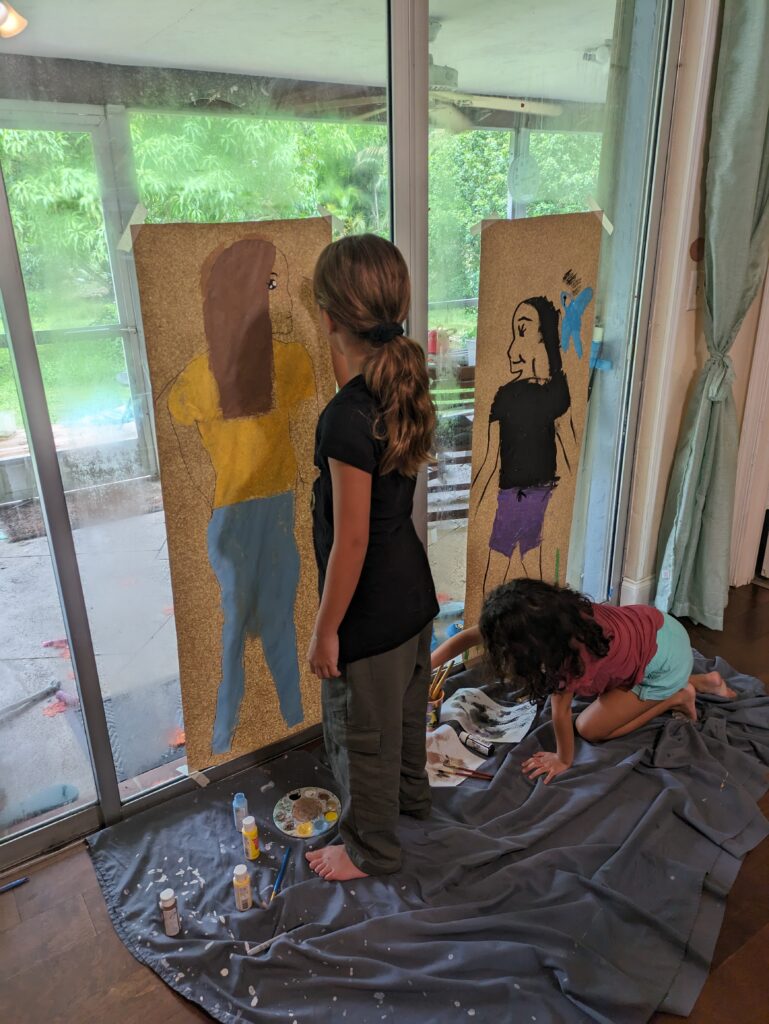
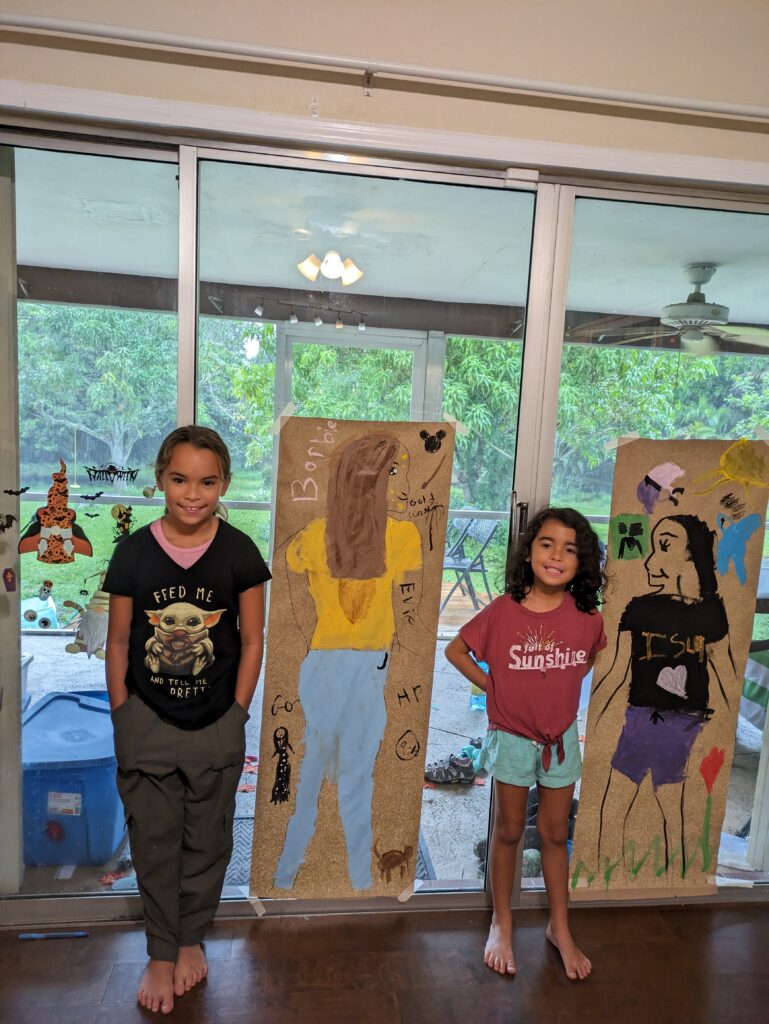
To continue our art, we tried our hand at their wall paintings. The Egyptians made grand murals to tell stories. All the people were made with the heads as profiles, their shoulders and torso were facing forward and then the hips, legs, and feet were back to the sideways profile. We put up a strip of craft paper on our screen doors because we have no empty walls. I made sure it was taller than the kids so we could trace them. We follow the pattern, tracing their profile, turning to face the front, and then putting their legs the other way. They spent forever decorating themselves and then adding some of their favorite things around. I eventually moved on to cleaning the house instead, thankful that I could trust them with paint. I just lay one of out old sheets down to catch the spills. It was a great project.
To close out our studies on how they lived, we built a model family house. This was an involved project, where I cut out all the cardboard pieces to make the floors and the walls. Thank goodness for an electric box cutter that Chris purchased this year. My hands have struggled at regular box cutters or even scissors on cardboard. I had the pieces cut, but the girls had to tape them together and then we used a tub of plaster of paris to coat the walls to be similar to the mud walls. Then the girls added sand and rocks and all the decor they wanted to their courtyard. It was such a fun process. Evie even made some clay pots to put on Isla’s fire place.
After building our family home, we took all the components we had made and made a little Egypt scene. Some blue fabric to represent the Nile and a home for our boat. The home has to be raised a little because of the Nile floods. And even our little pyramid made it. A few cubes were knocked off, but it made it more authentic.